How to make a wig: A comprehensive guide
Wigs have become a fashion for changing your hairstyle and getting a new look. No matter your age or color, you can always wear wigs. But some people want to make their own wig and want to know how to make a wig. Making a wig can be an uphill task for a beginner. It would take a lot of time. If you are still interested in doing that, I have some tips. You must have some basic sewing skills and the right tools.
First step: Measurement
Measurement with a flexible tape
First of all, you need to measure your head with flexible tape. Make sure there is no hair on the head. Now, start measuring by extending the end of the tape from the forehead to the nape. Likewise, put the ending point of the tape on the end edge of the ear towards the head, and drag the tape on the uppermost point of the head to the same point as the other ear. Now, record the measurement on a page.
Forming the Wig Foundation
Now convert your measurements to a wig block. Make a rough map of the wig according to the measurements. Use the tape to make sure all the recorded measurements are accurate. Now, you can try a net cap or a cotton lace cap.
The first and most important stage in producing a wig is shaping the foundation, which will serve as the base for the hair attachment. A well-constructed base will give the illusion of a natural hairline and keep the wig in place without causing discomfort to the wearer.
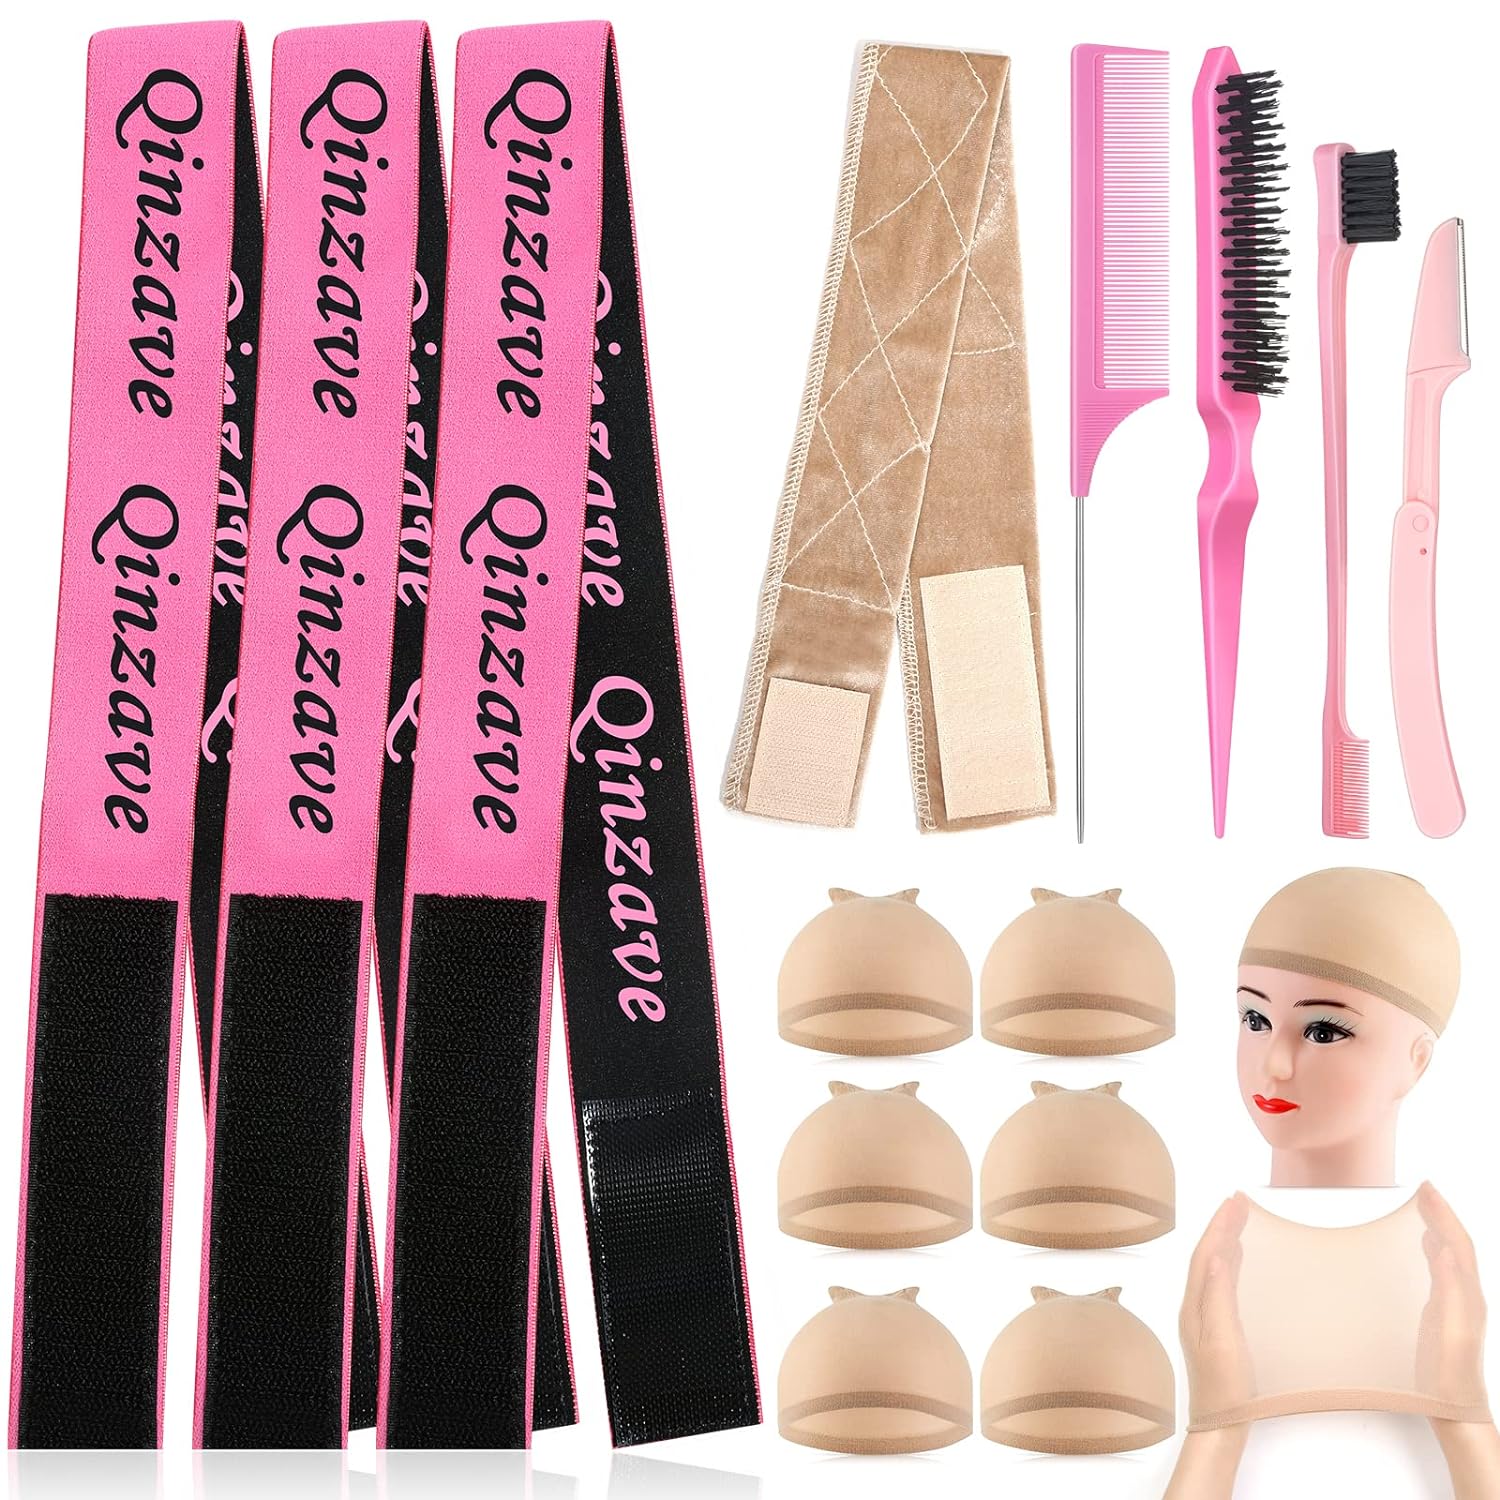
What You Need:
A wig holder
Mesh for millinery
Blades
Wire
Needle for sewing
Fasteners
Fabric marking pen
a measuring device
Here is the deal:
Set up the wig block: Find a steady place to set it. Cover that with your wig cap if you’re wearing one.
- Find the circumference of the head. Get the wig’s circumference by wrapping a measuring tape around the wearer. As a result of this measurement, the wig foundation size can be determined.
- Unwind the millinery ribbon. The millinery mesh should be cut to two inches above the head circumference.
- The hairline should be marked: Smooth the millinery mesh cut onto the wig block. The hairline can be marked on the mesh using a fabric marking pen. The ideal hairline placement is in line with the scalp’s inherent hairline.
- Design and make darts: Make darts to pull the cloth taut if the mesh is too baggy in any one spot. To get a close fit, darts are little folds of cloth stitched into place.
- Attach the wig block to the mesh: Thread a needle and attach the mesh to the wig block. To sew around the block, begin at the hairline and work your way around. Verify that the stitches are uniform and snug.
- Remove any extra mesh by trimming: Remove any extra mesh after sewing it to the wig block.
- Fortify the hairline: A small glue or fabric sealer coating applied to the mesh’s edges will create a stronger hairline.
- Give it time to dry: Ensure the adhesive or sealant has dried fully before attaching the hair.
“Here are some tips for making a wig”
* Cut the mesh with a sharp pair of scissors.
* Mark the hairline with a fabric marking pen with a fine tip.
The mesh should be sewn to the wig block using a strong thread.
Ensure that the stitches are both snug and uniform.
Hold off on adding the hair until the adhesive or sealant has dried.
Additional remarks: * The wearer’s head shape and preferred wig style will determine the wig foundation’s size and form, which are both subjective.
To get the best fit, try using a wig block that mimics the contour of the wearer’s head.
* A pre-made foundation or a wig-making lesson are good options if you don’t need to learn how to build your foundation.
Hair Preparation
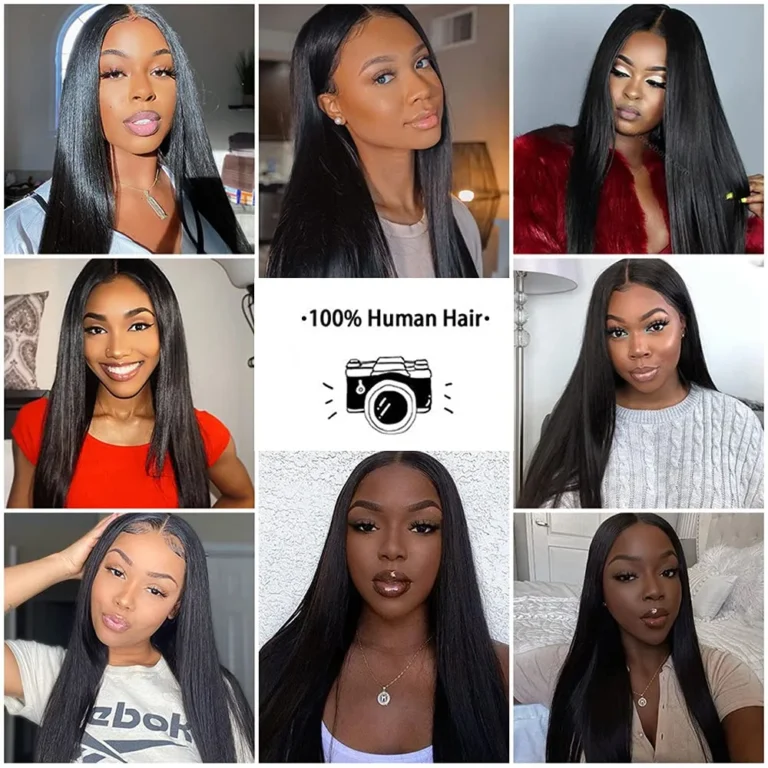
When it comes to hair options, you have both synthetic and human hair. Both are useful and have their pros and cons. If you are going to use wigs daily, you should go for human hair because human hair is the long-lasting thing that gives you a real and natural look. Likewise, synthetic hair is also useful, but less so than human hair.
The first step in making a wig is securing the hair pieces to the hat. Wigs can be easily put together by following this simple guide:
What You’ll Need:
- Pick a wig cap proportional to your head that suits your desired look.
- Wefts and Bundles of Hair: You will fasten these hair strands to the wig cap. You can select between synthetic or human hair depending on your taste and budget.
Third, a wig stand: to keep the wig in place as you style it.
- Needle and Thread: Attach the hair to the wig cap using a sturdy thread and a curved needle.
- Combs and Clips for Your Hair: Use them to fasten the wig to your hair.
- Scissors: for snipping off extra lace and wefts.
Here are the steps:
1: Get the Wig Cap Ready:
Use a wig stand to secure that cap.
Ensure the straps on your wig cap are snugly fastened to your head, if adjustable.
-
Cut and measure wefts while making a wig
Cut the wefts to length by measuring them against the wig cap.
Working your way up from the base of the neck, finish at the top of the head.
-
Create the warps:
Thread the needle and secure it with a knot.
Attach the wefts to the wig cap by stitching them in place. Starting at the nape of the neck, go up and out.
To secure the wefts, use an easy stitch like an overhand or blanket stitch. Check that the stitches are snug.
-
Let the wefts overlap.
If you want your hair to appear natural while completely covered, overlap the wefts just slightly.
-
Keep stitching.
Keep sewing until you get to the top of the wig. While sewing, keep the hair’s natural direction in mind to achieve a smooth transition.
-
Remove any extra lace.
When styling a lace front wig, remove the extra lace from the front, ensuring to leave a tiny portion for a realistic hairline.
-
Secure combs or clips to the hair.
Attach the wig cap to your real hair by sewing combs or clips onto the inside.
-
Personalize and style:
Put the wig on and make any necessary adjustments to the fit. Eliminate uneven wefts and extra lace.
To get the style you want, just cut and shape the hair.
Refrain from disheartening yourself if your first attempt at creating a wig is less than ideal; practice makes perfect. Do not rush; instead, improve your method with every try.
Expert Q&A about wig-making
Is it hard to do that?
It can be difficult for a beginner but not for an expert. It would help to have the right tools: wig cap, thread, needles, scissors, handle, combs, brush, and wig stand. In this way, I can make a decision.
What caps should you use to make wigs?
Many caps exist, but a breathable mesh dome wig would be a great option.
Conclusion
Wigs can be a game changer in the fashion world if you want to wear a wig to change your hairstyle and get a new look. It would help if you went for a brand-new wig. But if you are thinking of making a wig by yourself, this question would irritate you about how to make a wig. Just follow the steps that are mentioned above to make wigs. Ensure you have all the tools and patience because it can take a lot of work for a beginner.
Long black wig and short black wig: what is the best option for you under $15
read more bout wigs